Property Geek
We provide the actual and accurate information with unbiased user driven reviews to our viewers, to help them see the best and find the best!
View posts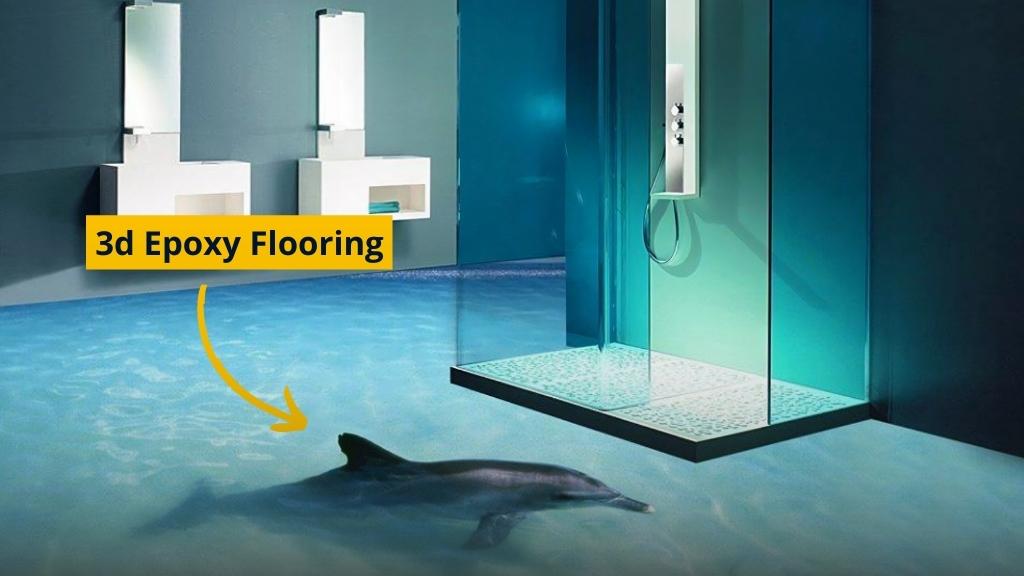
Looking for a novel and attractive flooring option? Why not think about epoxy 3D flooring? A 3D epoxy flooring is a great concept if you want to give your home a unique look while yet keeping the flooring strong and useful. Let’s discuss 3D Epoxy Flooring in more detail and how to install one of these floors yourself.
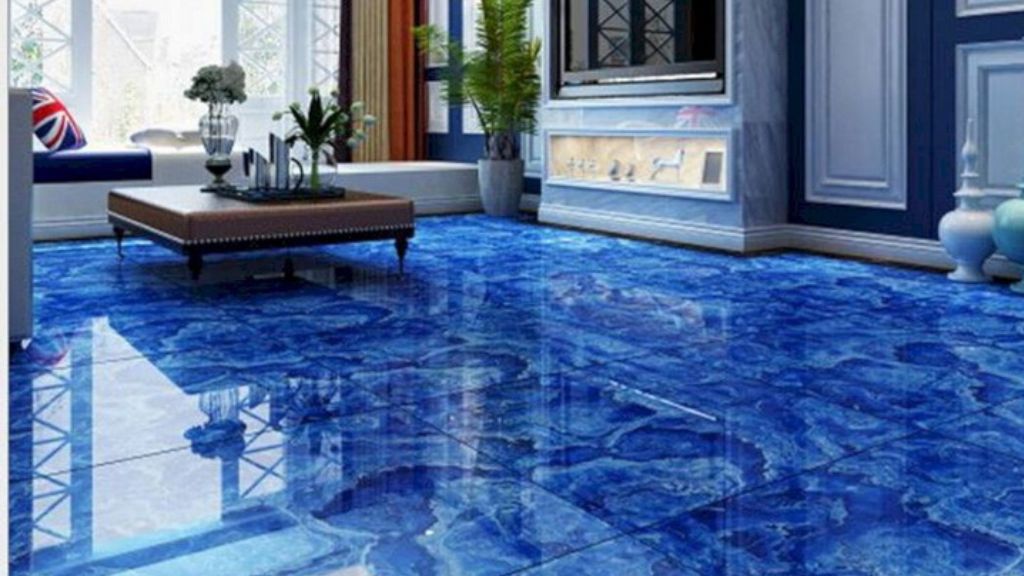
A three-dimensional picture covered in synthetic resin makes up a 3D flooring. The image must be as large as feasible and have the best resolution available in order to provide a realistic appearance. If the 3D Epoxy Flooring has been installed properly, The spectator will experience a photorealistic 3D impression. It can be done in any room, especially the bedroom 3D epoxy flooring has become a new thing.
Looking to create 3D floor art? The following tools and 3D flooring supplies are required if you want to install your own DIY epoxy floors.
There are several methods for obtaining the appropriate artwork while creating 3D epoxy flooring.
First option: Utilize pre-made 3D floor stickers
You may also purchase 3D floor stickers that are already printed for a simpler solution. This may significantly restrict your design possibilities, but it makes producing a high-quality end product much simpler.
Second option: Electronic printing
One approach is to digitally print the required image for your 3D floor. You must make sure that the resolution is at least 300 dpi before doing this. You will need a high-quality image to get a real 3D appearance, therefore printing at a low resolution is not an option. The flooring will appear blurry and shabby with a poor resolution.
You must seal the 3D floor once you have placed down the picture. Epoxy resin or polyurethane resin can be used for this. Both of these goods have a very shiny, smooth, and clear appearance and are very long-lasting. Both materials are sold as two-part resins that must be combined.
For a longer working life, both epoxy and polyurethane can also be combined with other materials like color pigments or inhibitors.
Since it can survive direct sunshine and is UV-resistant, polyurethane resin is frequently used. Epoxy glue can become yellow over time, so it’s not always a wise choice for outdoor applications. The 3D picture may be seen through a clearer, longer-lasting surface thanks to polyurethane resin.
With its lifelike graphics, 3D epoxy flooring delivers a distinctive appearance. However, a metallic 3D floor may potentially elevate this to the next level. You may obtain extremely smooth, glossy, mirror-like finishes using this. Metallic flooring gives your house a contemporary appearance. Additionally, this kind of flooring is impact-resistant, long-lasting, and simple to maintain.
When dealing with resin, keep your safety front of mind at all times. It can be poisonous and irritate the skin while it’s still liquid. When working with 3D Epoxy Flooring, always wear gloves and attempt to do it in a well-ventilated area. When working with liquid resin, it is recommended to use a respirator mask to protect yourself from potentially dangerous vapors.
The ease of maintenance is one of the key advantages of 3D flooring painting. To remove any sand or dust from the flooring, just wipe them. For more rigorous cleaning, specialized polyurethane cleaners and care solutions are now available to assist remove stubborn stains and filth. Although resin finishes are quite robust, they can occasionally need to be resealed. To help cover up dings or blemishes, polyurethane resin can be used.
Now you know, this can be great for bedroom epoxy 3d flooring.
